 |
| Authentic Swarovski Flat Back Crystal (bulk pack) |
 |
| Loose Swarovski crystal from the bulk pack (Light Amethyst) |
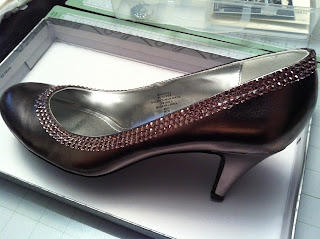
I also ordered all the necessary tools to make this whole thing happen. There are craft glue, tweezers, crystals holder, tacky stick, syringe and of course, a pair of shoes (I would prefer a pair of new one since you are going to spend a good amount of $$ to "strass" them. I got mine for $49, 2 3/4" heels and super comfortable.). Unless you got a pair of old Christian Louboutin, that is a different story.
 |
| Getting ready with all the necessary tools |
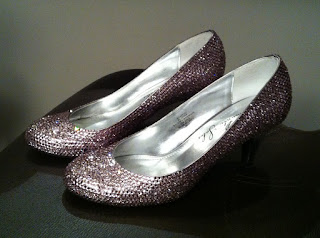
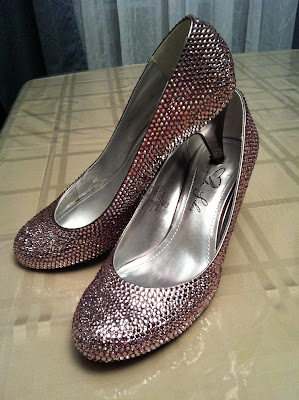
I started from the top and glue the crystals one by one along the rim. Once you start it, you really don't want to stop until you finish the glue from syringe (the tip will dry up if you don't use it in a day). It took me around 4 hours to go through one syringe filled with glue. You will need A LOT OF patience for this project, but trust me, you will LOVE LOVE the result.
Sometimes you will find that it's hard to fill the tiny space (unless you have all different sizes of crystal). It's okay to overlap the crystals a little or even just leave it as it is. When I just started, I was all about getting it perfect and it took extra time. In reality, people will not able to see the minor flaws from above (even up close sometimes because of the BLING that blinds them :D). You will get a hang of it after couple hours of gluing, so the 2nd shoe usually comes out better. Again, you really can't see the differences. This pair took me around total of 25 hours to finish.
 |
| Finished |
 |
| **Bling** |
 |
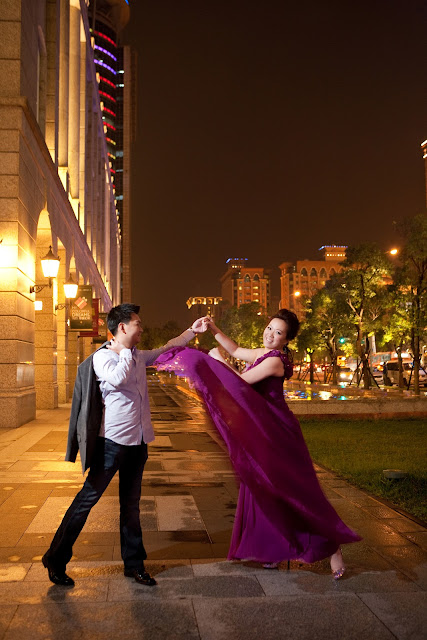
| Engagement photo with Swarovski Crystal Shoes |
 |
| Wedding day with Swarovski Crystal Shoes |
I received tons of compliments from the guests on my wedding day. They sparkle like diamonds at night, on the dance floor. Most of people asked where I bought my pretty shoes and their jaws just drop when you say "you can't buy them, it's handmade by myself". I have to say I got enough patience for this is all because it's for my wedding day. Maybe I will make another pair just for fun one day.
Happy crafting~


Oh wow!!!!!! You are super talented!!!! I love love your sparkling pumps!!!!!!! Congrats on your engagement!!! You look lovely!!! I'm really glad to have found your blog! If you have a chance, please visit/follow my fashion blog. Your supports will mean the world to me! Thank you so much in advance!!! Have a great day!!!
ReplyDeleteThanks for visiting~ I am new here and there are still a lot to catch up. I will post more projects soon. Please check back and share your thoughts. I love the photo books on your page. I always make one of those after traveling to a foreign country. Internet is the best place for info sharing, especially from a fashion enthusiast like you. Keep blogging~
Deleteomg those shoes are amazing!
ReplyDeleteI love them! :)
http://bubblemylicorice.blogspot.com/